Swarm Prevention With OTS Queen Rearing (Part 1 of 3)
Part One | Part Two | Part Three
Combining easy "On The Spot" (OTS) queen rearing (as coined by Mel Disselkoen) with artificial swarms is a tremendous early spring swarm prevention technique any beekeeper can quickly learn. This post will attempt to help beekeepers understand swarm behavior better and instruct how to combine these two techniques each spring before swarm season begins. The result? — You can raise your own queens, increase your colony count (if desired), and stop losing your time and money to annual swarming.
To begin, let’s talk a little about honey bee swarms...
Anatomy of a swarm
There is much left to learn about swarming behavior but we do know quite a bit. You can find entire books and courses on the subject. I like the following description from my bookshelf that gives a general idea.
From Beekeeper’s Handbook, pg 154:
By reproducing, organisms perpetuate and protect their kind from extinction…honey bee colonies do this by swarming. This activity of dividing the nest with new reproductives is very expensive. A colony divides, and part of it leaves for a new homesite, usually with the old queen, while the remaining members continue at the original site with a newly emerged ― and later mated ― queen. In this manner, a single unit becomes two. An abundance of food, a higher worker population, and the formation of many queen cells, often called swarm cells, indicate that swarming preparations are under way. Shortly after the swarm cells are sealed, the colony will cast a swarm. Bees will exit as a swarm on any warm, windless day; usually between 9 a.m. and 3 p.m. (earlier or later if the weather is favorable). Occasionally, bees will swarm when the weather is less than favorable.
Like any animal or insect, you can count on them to reproduce when conditions are right. Honey bees are no different. What is intriguing, if you think about it, is that an entire colony is being propagated, not just one individual. The steps involved in colony increase, of which swarming is a part, are incredibly complex and a fascinating topic to contemplate.
Reasons honey bees swarm
There are many reasons beyond reproduction that will cause a colony to swarm. To be accurate, the term “swarm” really doesn’t apply in all cases. Sometimes it can be described as “absconding”, the process of a colony abandoning their existing location for a better one.
Following is a list of reasons, not entirely exhaustive, that would induce swarming:
From Beekeeper’s Handbook, pg 155:
Reasons for swarming
* congestion
* unbalanced numbers of different-aged workers
* overheating
* defective or old combs
* queen’s egg-laying becoming restricted as empty celled filled with honey
* inclement weather keeping bees confined
* failing queen
* the decline of queen pheromone
* genetics or race of bees
* idle nurse bees
As you can see, not all reasons for swarming can be associated with reproduction. That said, the main impetus would be colony increase and that is the focus of this post.
Imminent signs of swarming
It is somewhat difficult to ascertain when a colony is about to swarm, but there are a some clear markers that indicate it’s about to happen.
Each spring you can count on honey bee swarms to begin during a certain window of time. For me, this is around May 1 through the 15th depending on weather, temperatures and colony health.
Back in January or February, my colonies start a slow process of building brood to replace overwintered bees and ramp up for the first nectar and pollen flow. As they get closer to May the queens lay more and more and colony expansion is clearly evident. If left to themselves the larger colonies, if not all of them, will proceed right into swarm mode. Some of those signs are:
From BeeKeeper’s Handbook, pg 155
Signs of imminent swarming:
* after queen cells are sealed over
* when the wax has been removed from tips of queen cells
* when few bees are foraging compared to other hives of the same strength
* when bees are clustered near the entrance, not due to hive congestion or warm temps
* usually on the first warm, sunny, calm day following a short period of cold, wet, cloudy days when congestion in the hive is aggravated
To be clear, the goal for this post and OTS methods is to not let your colonies get to this point but to instead manage them intelligently, using this swarming impulse to your advantage and not lose your bees.
If you already see queen cells with royal jelly then it’s too late and you have a separate issue on your hands to contend with.
The problem with swarms
This can be a touchy subject for some due to varying perspectives about beekeeping in general. Some think bees should be left to themselves and let swarm. Let me assure you ― you won’t have bees for long and you may incur the wrath of your neighbors terrified with swarms of “killer bees” swirling in their yard. As well, this path of inadequate or non-managed bees will eventually lead to disease and pest issues. This will be a detriment not only to your bees but others near you.
Here is the long-standing reality: Honey bees thrive when intelligently managed by people. They are a unique creation. Both humans and bees benefit. Left to themselves, you would see few bees in your yard each spring, especially these days with various new disease, pest, and pesticide issues we must face, unheard of only 50 to 100 years ago.
I like this frank discussion about letting bees swarm:
From Beekeeper’s Handbook, pg 154
Swarming was once considered a sign of “good and productive” beekeeping, for the beekeepers could increase their holdings from the numerous swarms available. Straw skeps, logs, and other types of cramped hives have been used to house bees since the 1600s, but these containers quickly became overcrowded and thus promoted the swarming of bees. Today, swarming is viewed as a sign of a beekeeper’s negligence because it means a loss of both bees (unless the swarm is captured) and the production of honey. Although most beekeepers make efforts to prevent or control swarming, it is not an easy task. The picture is further complicated by the fact that most methods used for controlling or preventing swarming result in manipulations that reduce the colony size (which is what happens when the colony swarms). Thus, although swarming can be controlled or prevented, in doing so the goal of maintaining populous colonies for the honey flow is somewhat sacrificed. Nevertheless, this is far better than having the colony cast a swarm that may leave the apiary site before you can recapture it.
Fortunately for us, there is a very simple and time-tested method for swarm prevention and colony increase without sacrificing honey flow whatsoever. You can keep your bees and your honey IN your yard! Let’s talk about the specifics.
Preventing Spring Swarms with OTS
At a high level, the plan is simple. In the process we are going to 1) create an artificial swarm one week before swarm season, 2) easily rear one or more queen cells a week later, and then, 3) increase your colony count as desired. You will have options to choose from depending on whether you wish to increase your colonies, harvest honey, or a mixture of both.
Why does this work?
I personally switched to using Mel Disselkoen’s OTS methods in 2012 and haven’t looked back. I’m successful enough to sell overwintered nucs each year to local beekeepers, even in a difficult environment here in the Cleveland area. It just works.
I rarely have a swarm in my apiary any longer. I don’t have to worry about swarms in my neighborhood, even with 30 colonies out back and houses all around.
Mel has been doing bees since the 70’s and has decades of experience to lean on. His book is well worth the expenditure—just think how much you’re spending on replacing bees each year as you consider the book knowing you’ll never buy bees again.
Why does the OTS method work? I think for several reasons but chief among them in my mind:
The beekeeper is proactively preventing swarms and equipped to do so
It is a simple and efficient method of raising quality queens in your own yard
You are creating a brood break in your colonies which disrupts the varroa mite life cycle
The method encourages and facilitates increasing your number of colonies, giving you more latitude for losses and options in your apiary
The method encourages and facilitates entering winter with young queens and healthy bees
There are many other benefits as we consider the benefits of the method such as developing local genetics, not bringing in outside bees, becoming self-sufficient, and more.
Here are the specific steps:
Week One
Step 1.1: Create an artificial swarm one week before swarm season in your area

Download Mel's notching PDF update
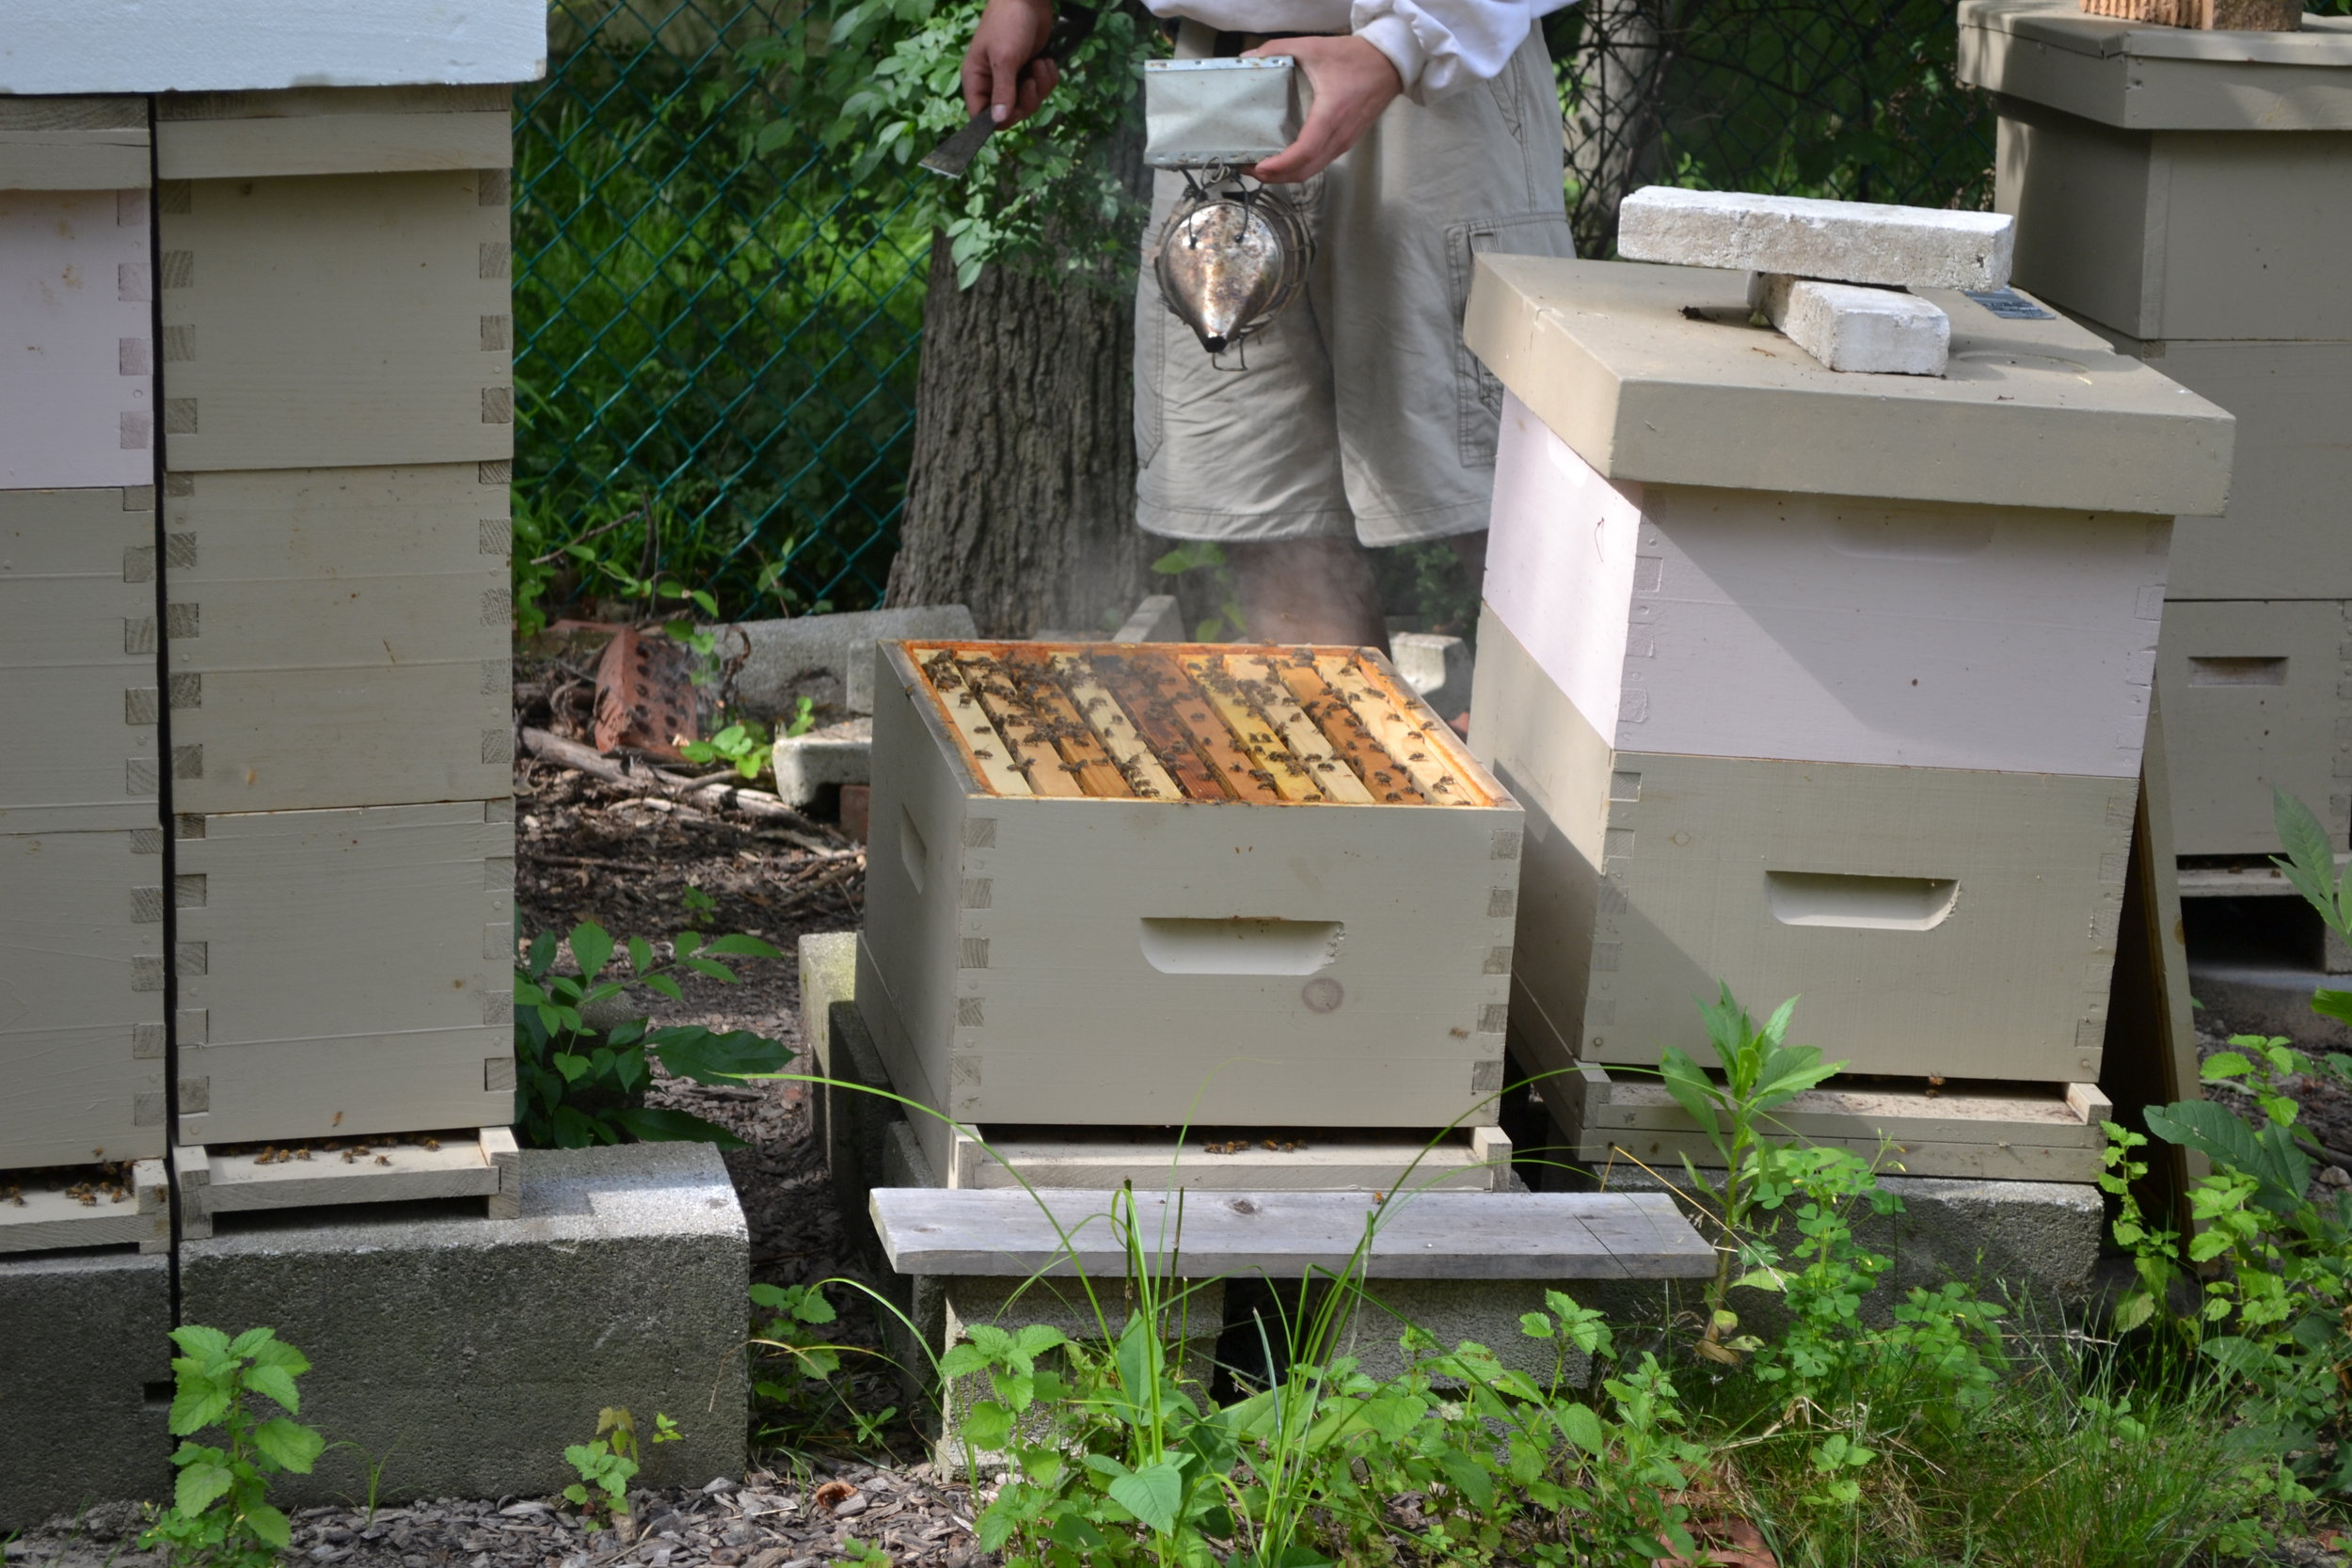
One week or so before your typical swarm season it’s time to visit your hive during a warm, early afternoon. I like to do this on Saturday if at all possible. Your first order of business is to lightly smoke to calm the hive and find the queen. Have a nuc box nearby at your feet to set her in. There is no need to touch or handle her — just simply put the frame she’s on into the box, right in the middle. Next, select two mostly capped brood frames to be included in the new colony, being careful not to injure the queen when transferring them into the box next to her. Keep the brood frames together, and frames with any open larvae in the very middle.
Next, select a frame of honey to insert into the split, preferably one with some pollen as well. Then, give the new split a couple extra shakes of nurse bees (bees covering open larvae and capped cells). Note that the honey frame should be right next to the brood on the outside. Fill up all remaining space with frames and close it up with a lid. If you have frames of comb already pulled out these are great to add in addition to the very outsides for laying expansion soon by the queen without the colony having to expend energy on building comb. If you don’t have this, be prepared to feed the new colony, especially if cool weather or a poor flow exists.
You’re ready to close this new colony up. It should be moved two or more miles away but I find it’s okay to keep it in the same yard if monitored closely. You can shake some additional bees or give it another frame of brood if too many bees get back to the original colony. You can assess this best by examining early morning or late evening when most of the bees are in the hive.
Congratulations — You’ve just created your first artificial swarm! Rather than letting your bees swarm, you are taking control and keeping the bees in your yard.
Step 1.2: Notch below 36-hour larvae in the queenless parent colony
Now, back to the original colony that is queenless. It is important to understand that since you have removed the queen, the bees will readily recognize the situation and enter into queen making mode. You will help them along in this process a bit and raise your own queens!
In this original parent colony, you should have two or more frames of capped brood left including some with open cells with eggs and larvae. Your focus now is to search for and find just hatched larvae. Here you will be "notching" to assist the bees in building out cells. On frames with newer white to light-yellow comb, the bees should have little trouble pulling out queen cells. On older darker comb, they sometimes are reluctant or unable to pull out queen cells.
In either case, we are not going to take any chances and will “notch” below just hatched larvae. These are 36-hour or younger larvae just emerged from the egg and now lying in the tiniest pool of royal jelly on the floor of the cell. They are nearly the same size of an egg but just slightly bent and a little bit fuller. Anything bigger than this is too old. More on notching can be found here.
After notching at least one frame in a couple places, close up the hive and…. you’re done!
All told this is just a couple of steps and takes a beekeeper with some experience just a few quick minutes per hive to accomplish. The first time might seem daunting, but the process will become much more intuitive over time.
Your job now is to wait one week to allow for the colony to build out queen cells, build up large reservoirs of royal jelly, raise larvae to maturity, and cap the cells.
Let’s journey forward one week to the following Saturday and head back to your apiary…
Week Two
Step 2.1: One week later look for queen cells in the parent colony
Okay, it’s around noon the following Saturday and you have returned to the queenless parent colony to check on the status of your queen cells.
As you open the hive, you are focused on locating the frames in the brood area where you had notched a week previously. As you carefully inspect these frames, you should see fully formed and capped queen cells. Congratulations!
Note that sometimes you will find unfinished or uncapped cells ― this could mean that cells were abandoned or were started later by the bees and just not finished yet. This is okay.
You now have a decision to make: 1) Either make multiple splits or 2) keep the colony together. If you aren't making more splits, remove all but two of the largest queen cells and close up the hive. If you are making splits, you'll be making at most 2-3 total colonies from the resources available. Ensure that each colony has at least a couple frames with capped brood, 1-2 queen cells, a frame of honey and pollen, and any empty comb you have for the new queen to lay in.
Note that queen cells *can* be cut out and placed elsewhere but know this is a delicate task and the queen can be easily injured. I would advise using a razor blade and cutting liberally around the cell before slowly removing. Put the brood frames and cells in the middle of the box. Then, equally distribute the bees among the colonies as best you can and close them up.
What next?
Knowing that it takes approximately 30 days from an egg to a laying queen, you have around 21 days (3 weeks) before you can expect to find eggs in your colonies (approximately 27 days from when you notched). All things being equal, with good weather, most of your queens should emerge and be laying. Like any queen-rearing operation, mating flights have some inherent risk (getting lost, eaten by birds, etc) and you can expect about 10% failed matings.
And, don't forget... you're becoming a better beekeeper by keeping swarms in check and keeping your time, money and effort in your yard ― where it belongs. Check out Part Two of this series, "OTS Queen Rearing and Knowing Your Local Swarm Dates (Part 2 of 3)" In Part Three coming soon, we’ll talk about maintaining bee numbers and honey production, even with the artificial swarms and brood breaks that are a part of OTS.